The size of the folder where windows update files are stored is becoming a concern about users. The largest consumer of disc space on Windows Clients are all the outdated and redundant files installed in the Component Store are stored in the WinSxS directory. If you are wondering if it is safe to delete windows update cache files or clean up windows updates that you do not need any more on your computer, our first suggestion is: Delete windows update files should be used ONLY as a last resort for the reason that it is not generally recommended to manually modify any contents on the C:\Windows drive. In conclusion, please use this fix at your own risk only after you have gone through all other options to get the Windows Updates to apply successfully. If your Windows Update is not working properly or not working at all or if you find that the size of this folder has really grown large, then you can consider deleting the Software Distribution folder in Windows 10/8/7.
Where is the location for windows 7 and windows 10 update files? Their location in windows 7 and windows 10 can be found on the following path: C:\Windows\SoftwareDistribution\Download
Delete windows update files
So how do we cleanup clean windows update and delete or reset Windows Update files and history? We are presenting today the manually method and the automatic one:
Delete windows update files manually (Windows 7 / 10)
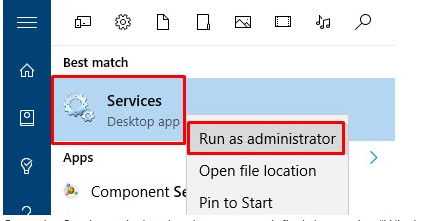
- Stop the Windows update service before we can clear the update cache. To do that, search for “Services” in the Start menu and open it. If you are using your system as a standard user, then open it as an administrator using the right-click menu.

Run as administrator Windows Services
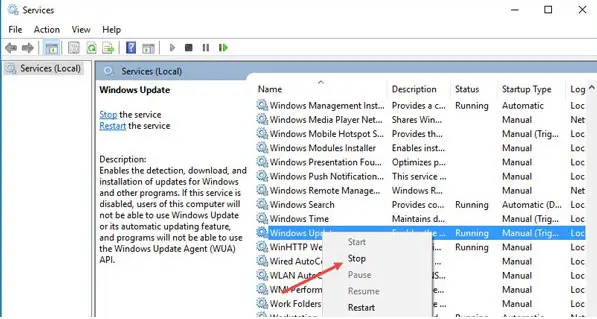
- Once the Services window has been opened, find the service “Windows Update,” right-click on it and then select the option “Stop.” This action stops the Windows update service

Stop Windows Update Service
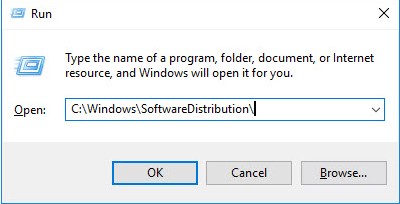
- After stopping the service, press “Win + R,” enter the below path and press the Enter button. This is the folder where Windows stores all the files related to Windows updates.C:\Windows\SoftwareDistribution\

Open SoftwareDistribution Folder
- Once you are in this folder, open the “Download” folder, select all the files in it and just press the Delete key on your keyboard to delete all the files. You might be prompted for administrator permissions; simply click on the “Continue” button to complete the procedure.
- Open the Services window again and start the “Windows Update service again by right-clicking on it and then select the option “Start.”
Delete windows update files automatically (Windows 7 / 10)
If you want to skip all the manually steps mentioned you can simply create a .bat or .cmd script to automatically delete windows update files. Open e new text file, copy the following commands and paste. After that, save the text file as .bat or .cmd. Do not forget to run the script as administrator:
net stop wuauserv
rmdir %windir%\softwaredistribution /s /q
regsvr32 /s wuaueng.dll
regsvr32 /s wuaueng1.dll
regsvr32 /s atl.dll
regsvr32 /s wups.dll
regsvr32 /s wups2.dll
regsvr32 /s wuweb.dll
regsvr32 /s wucltui.dll
net start wuauserv
Windows Update Cleanup
Windows Update Cleanup Process Manually (Windows 7 / 10)
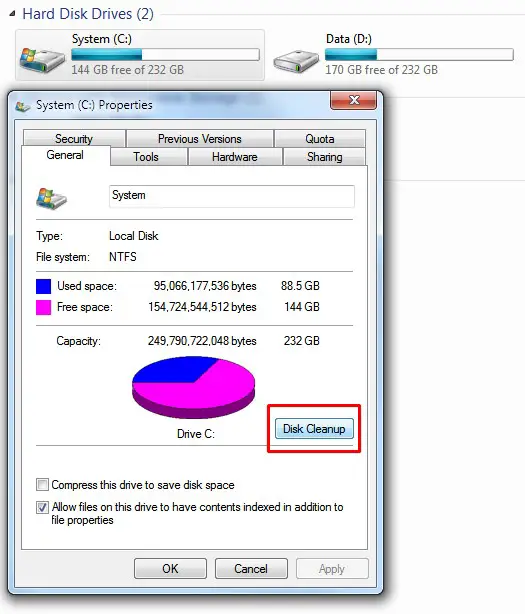
- Click on Start – Go To My Computer – Select System C – Right click and then select Disk Cleanup

Run Disk Cleanup
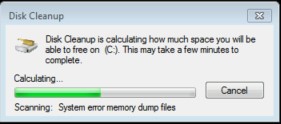
- Disk Cleanup scans and calculates how much space you will be able to free on that drive

Disk Cleanup Running
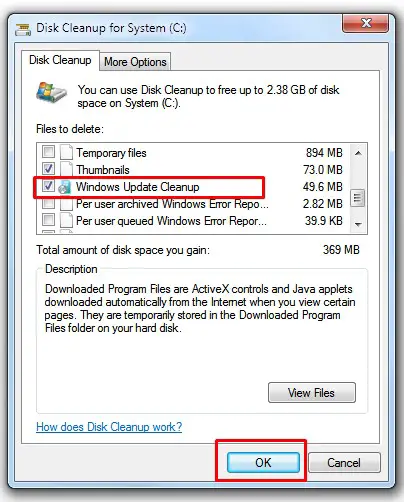
- After that, you need to select Windows Update Cleanup and press OK

Delete windows update files
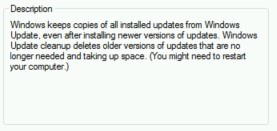
- If nothing is found for Windows Update Cleanup to perform, it will not show up as an option. After performing that, you may not be able to uninstall any of the updates currently applied. However, if you need to roll back to a previous version, you can still manually apply the previous version of the update. If you highlight Windows Update Cleanup, you’re presented with the following details

Windows Alert about Windows Updates
When you click ok, Disk Cleanup runs and cleans up the unnecessary files on your machine. You can see it running the Windows Update Cleanup as part of this below
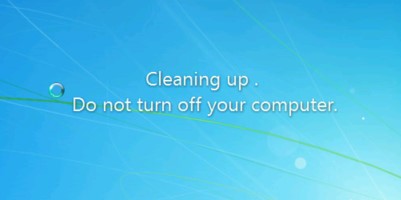
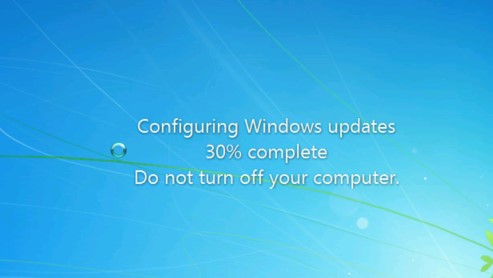
The process will start so you need to wait. If you check into the Task Manager – Processes you will find: cleanmgr.exe started. After the whole process is finished you need to restart your PC. You will be not prompted to reboot. However, when you next reboot, you’ll see Windows configuring Windows updates on shutdown and Cleaning up on startup. It might take a while so don’t panic! The larger the cleanup, the longer it will take.

Windows Update Cleanup

Configuring Windows Updates
- Click on Start – Go To My Computer – Select System C – Right click and then select Disk Cleanup
Windows Update Cleanup Automatically (Windows 7 / 10)
With this method you will be able to automate the whole process mentioned above, for example when you have let’s say 100-200 users.
If you want to apply the whole process automatically for all your PC in your domain you need to use PsTools: PsExec.exe. Below you can find all the steps:
- Copy the Clean-up .bat script mentioned above in every PC in your domain using SCCM. You can copy it into D drive.
@echo on
echo Config cleanmgr flag 5100.
%SystemRoot%\System32\reg.exe add “HKLM\SOFTWARE\Microsoft\Windows\CurrentVersion\Explorer\VolumeCaches\Update Cleanup” /v StateFlags0011 /t REG_DWORD /d 0x2 /f > d:\log1.txt
%systemroot%\System32\cleanmgr.exe /sagerun:11 > d:\log2.txt
- Open CMD as Administrator and run:
PsExec.exe @cleanup_list.txt >>cleanup_list_log.txt -c D:\PSTools\CleanUp_Update_V1.3.bat
cleanup_list.txt: List with all PC in you domain.
cleanup_list_log.txt: The log created after the run
D:\PSTools\CleanUp_Update.bat Clean-up script copied before on all PC
